Hello world app
In this guide we are going to create a simple hello world application. The aim of this guide is to walk you through the core concepts and show you how to consume the Quark APIThe project that we are finally going to build, will look something like this
Create a new Project
Just like we did it in previous module, create a new project.

Creating the directory structure
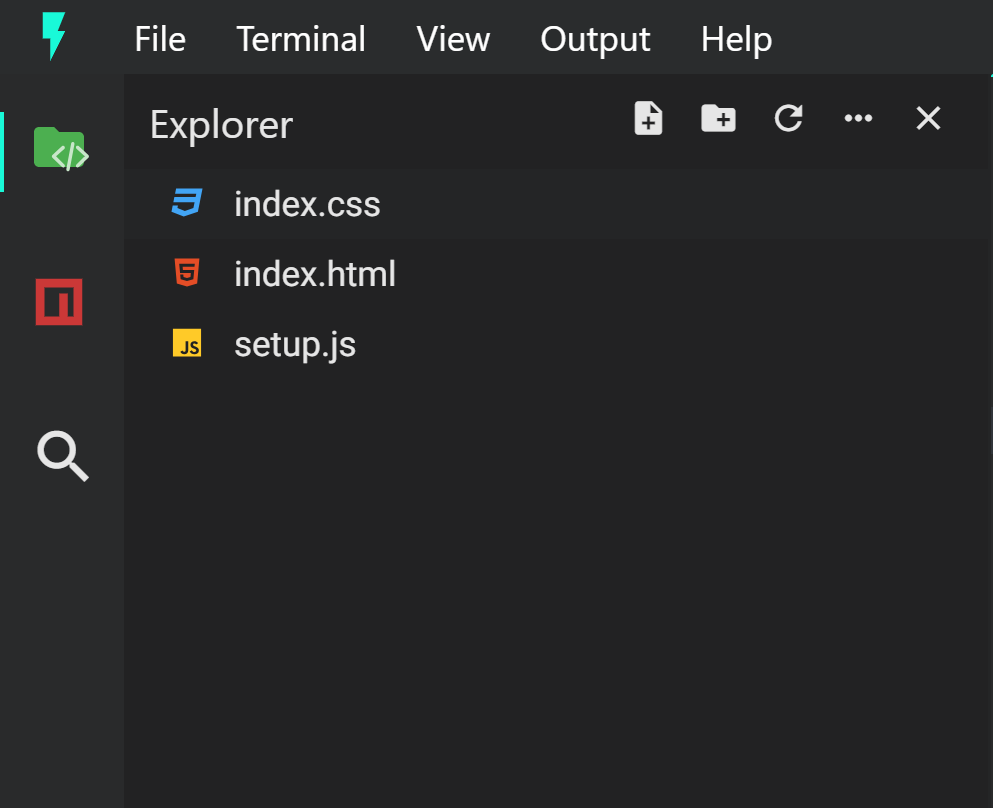
For this project, other than the base setup.js file, we are going to need 2 other files. Namely, index.css for our styles, and index.html for our HTML template.
Create both the files from the explorer view. Your final directory structure should looke something like this:

Writing the code
First, copy the following code into their respective files. We'll explain the working later.
In the index.html file
<div class="hello-container">
	<div class="hello-world">
		<div> Hello World. I'm Quark! Yayyy!!!</div>
		<div class="emoji">😊</div>
	</div>
</div>
In the index.css file
.hello-container {
    font-weight: 900;
    display: block;
    height: 100%;
    background: #000000;
}

.hello-world {
    font-size: 50px;
    background-color: #000000;
    height: 100%;
    text-align: center;
    padding-top: 260px;
}

.emoji {
    font-size: 110px;
    animation: rotation 2s linear;
    animation-delay: 1s;
}

@keyframes rotation {
    from {
        -webkit-transform: rotate(0deg);
    }

    to {
        -webkit-transform: rotate(359deg);
    }
}
In the setup.js file
import html from './index.html';
import './index.css';

const element = quark.util.createElementFromHtml(html);
const view = quark.views.createTabsView('Hello World', element);
view.focus();

quark.util.setAppTheme({
    "background.dark": "#0D0A0B",
    "on.background.dark": "#ffffff",

    "background.default": "#0D0A0B",
    "on.background.default": "#ffffff",

    "background.light": "#1D1A1B",
    "on.background.light": "#ffffff",

    "background.divider": "#4D4A4B",

    "primary.default": "#25d55f",
    "on.primary.default": "#000000",

    "secondary.default": "#ff7246",
    "on.secondary.default": "#000000"
});
Working
The index.html and index.css files are pretty straight forward. We are simply creating an HTML template and assigning some styles corresponding to it.
For the setup.js file, let us explore different sections of the programe one by one.
1. Import statements
import html from './index.html';
import './index.css';
Here, we are importing the html template from the index.html file. Behind the scenes, this import statement is handled by the webpack's raw-loader, which return the raw content of the html file.
In the second statement, we are importing the index.css file. Behind the scenes, this import statement is handled by the webpack's css-loader and style-loader. The effect of this import statement is that these styles are automatically injected in the DOM.
2. Creating the view
const element = quark.util.createElementFromHtml(html);
const view = quark.views.createTabsView('Hello World', element);
view.focus();
This part is very specific to the Quark API. Use this API to control various aspects of the application like controlling the window state, showing system notifications, system dialogs and controlling the views.
All of this is API is available under the global namespace quark and no import statement is required to use this object. You can find the complete API references here.
In the current example, we are using the createElementFromHtml method, which returns an HTMLElement from a template string.
The second method that we use is createTabsView where we pass the name of the view (Hello World) and the HTMLElement as arguments. After the build, we will see the effect of this method.
3. Setting an app theme
quark.util.setAppTheme({
    "background.dark": "#0D0A0B",
    "on.background.dark": "#ffffff",

    "background.default": "#0D0A0B",
    "on.background.default": "#ffffff",

    "background.light": "#1D1A1B",
    "on.background.light": "#ffffff",

    "background.divider": "#4D4A4B",

    "primary.default": "#25d55f",
    "on.primary.default": "#000000",

    "secondary.default": "#ff7246",
    "on.secondary.default": "#000000"
});
This is another utility method that we use to set the applications theme by providing with some variables.
Building and running the project
As described in the previous tutorial, build the project by pressing the build button, and then run the project by pressing the run button.