Getting Started
This guide shows you how to build and run a simple sketch. The aim of this guide is to help you give an overview of the development workflow.Estimated completion time : Less than 5 minutes.
Prerequisites
The official guide assumes intermediate level knowledge of HTML, CSS, and JavaScript.
Steps
Step 1: Installing the Quark IDE
You need to download and install the Quark IDE for your PC from here.
Step 2: Starting a new Project
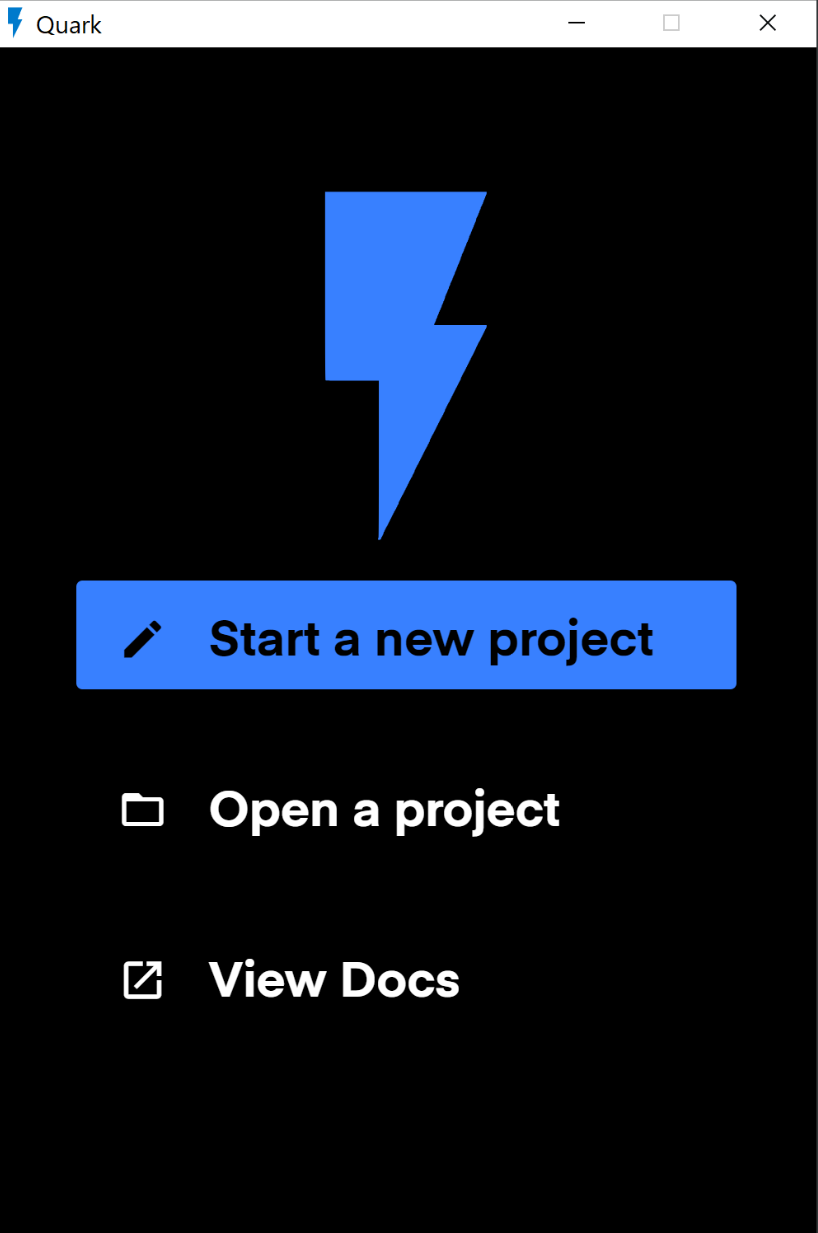
- After installing Quark, open the IDE.
- You will be shown a welcome screen. Click on "Start a new Project"
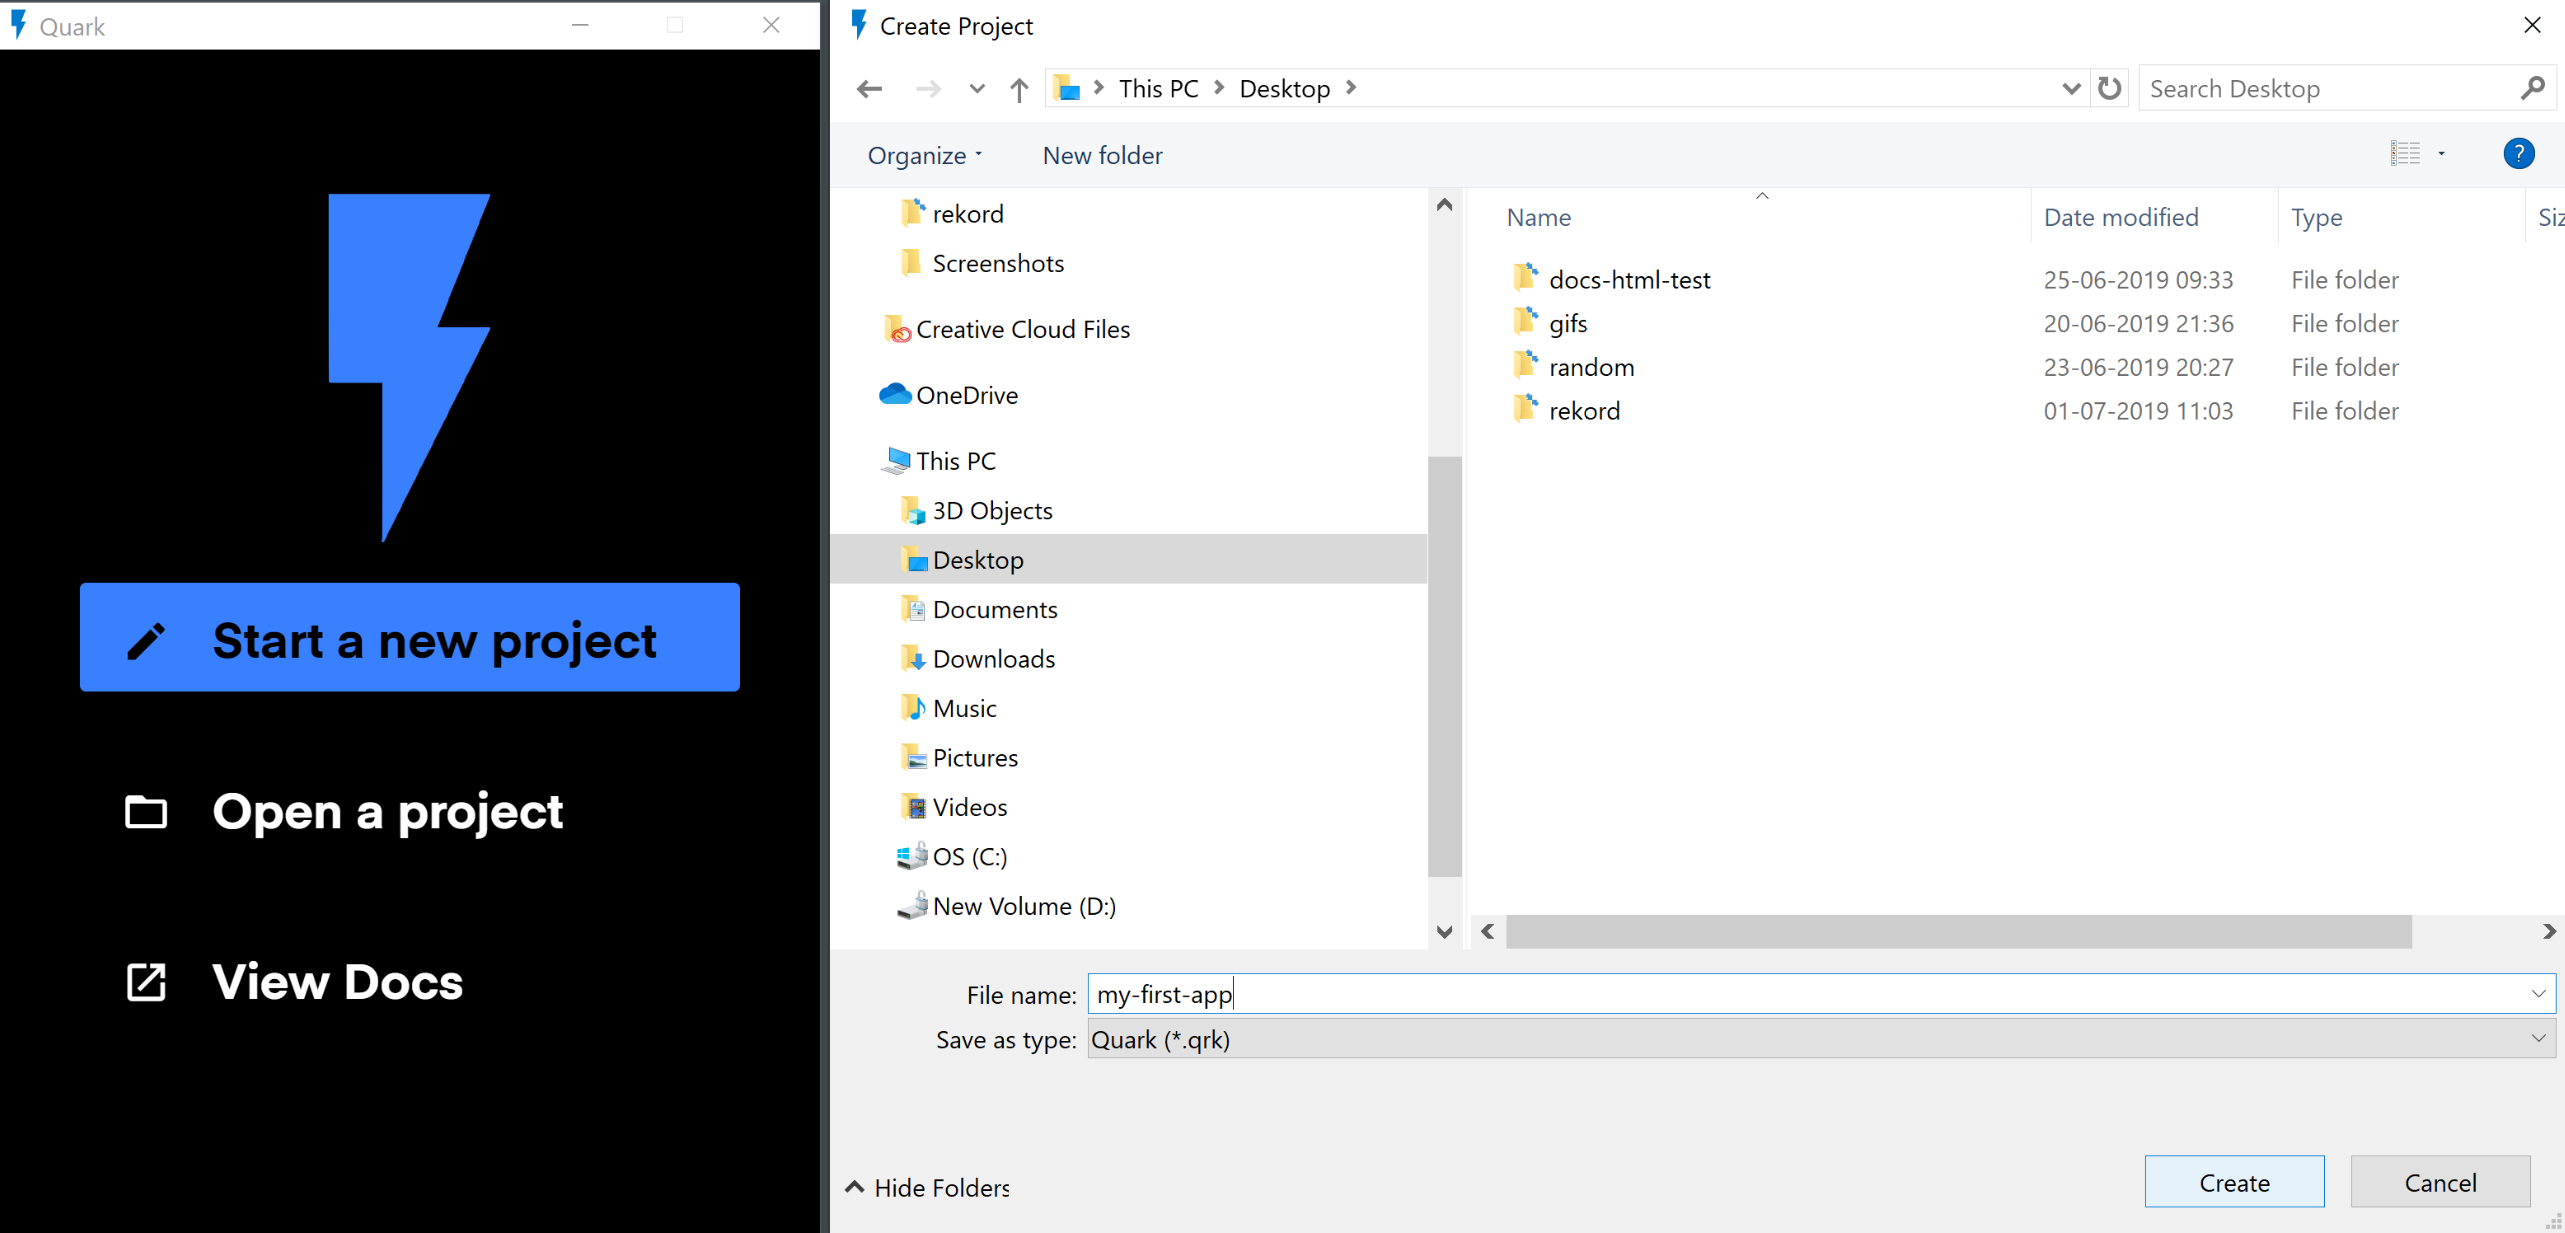
- After entering the project name, click on 'Create' button.
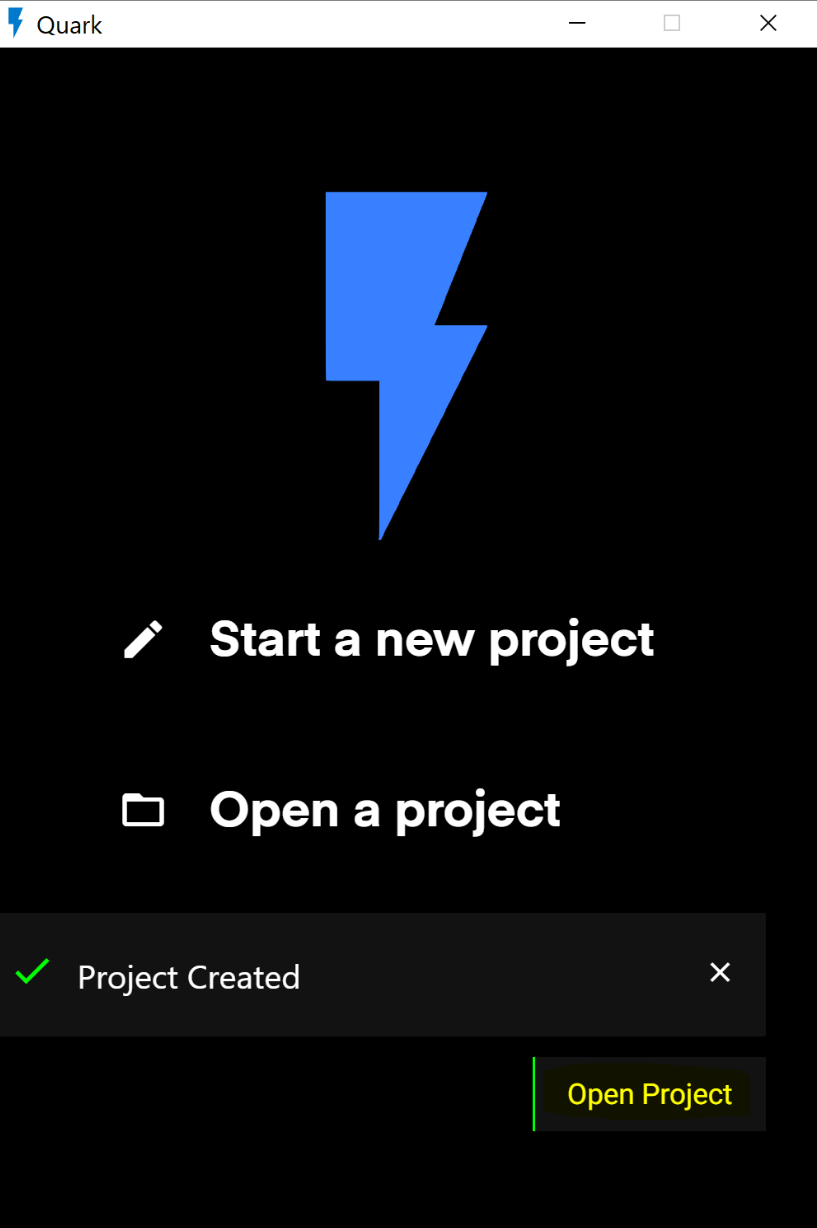
- If the project was created successfully, you will be prompted to open the project. Click on "Open Project".
Step 3: Navigating through the IDE
- After opening the project your view may look something like this.
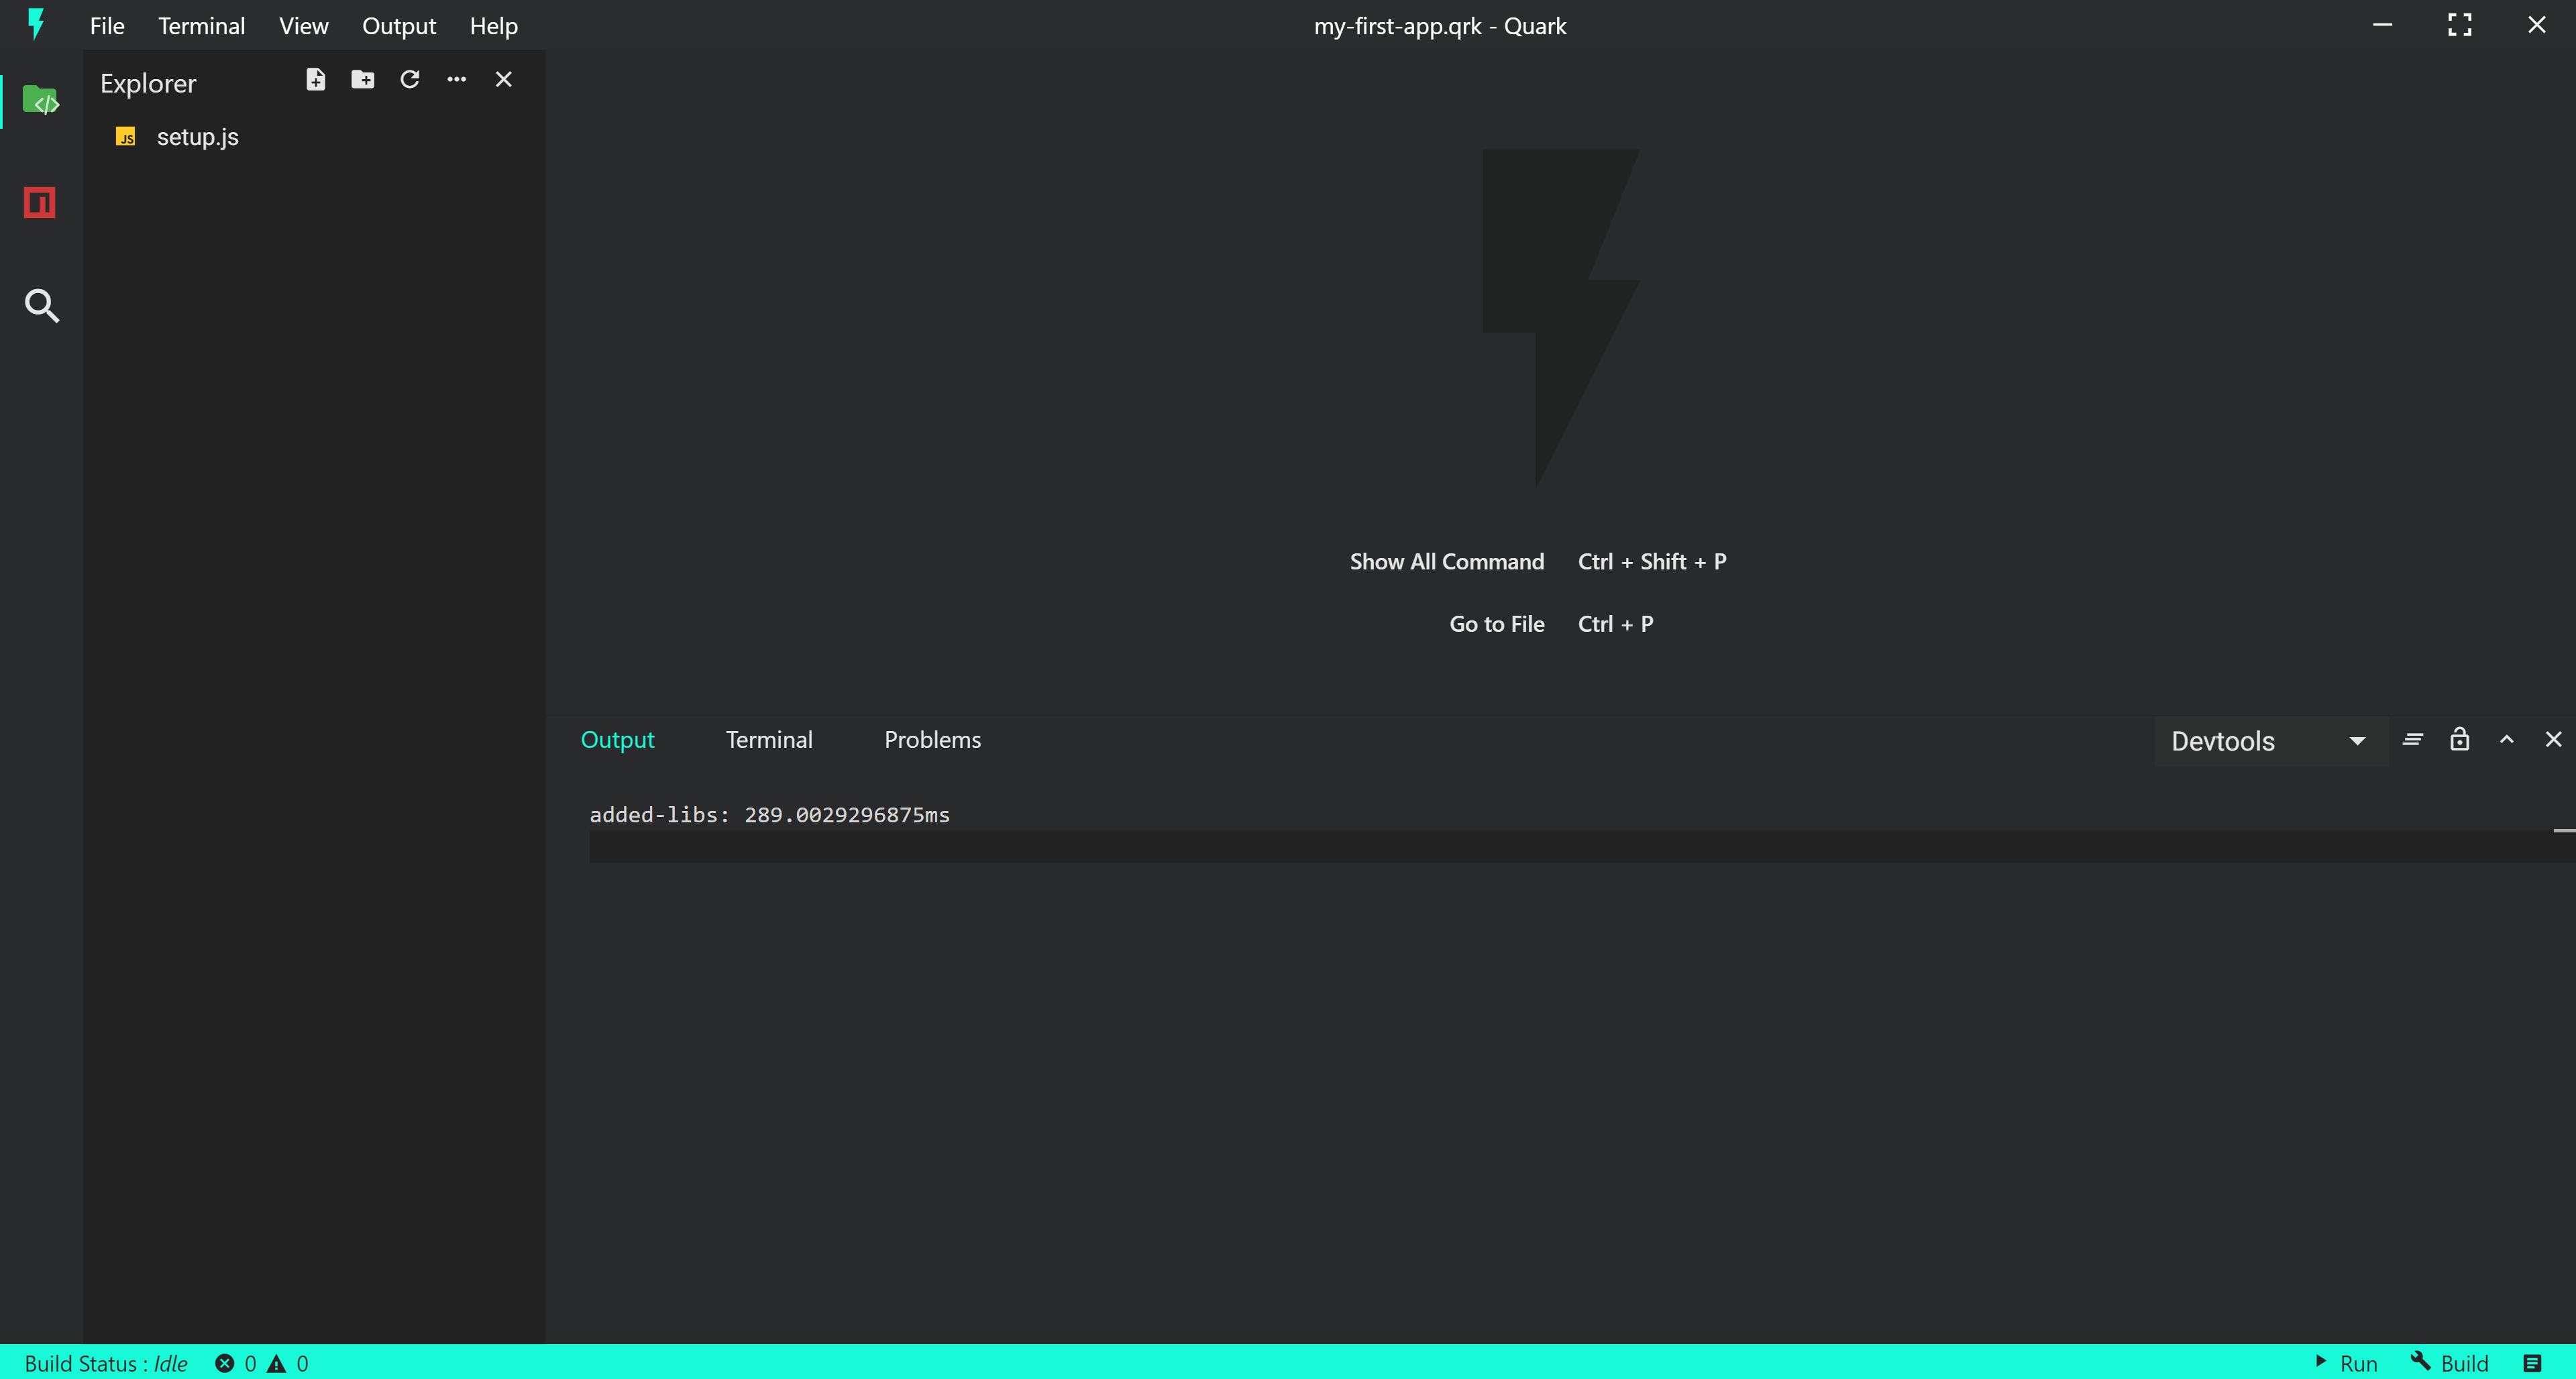
- On the left hand side is the navigation pane. Use this pane to navigate around files and folders.
- Also there is a setup.js file, this file is used as the entry point of your code by the Quark build system while building your sketch.
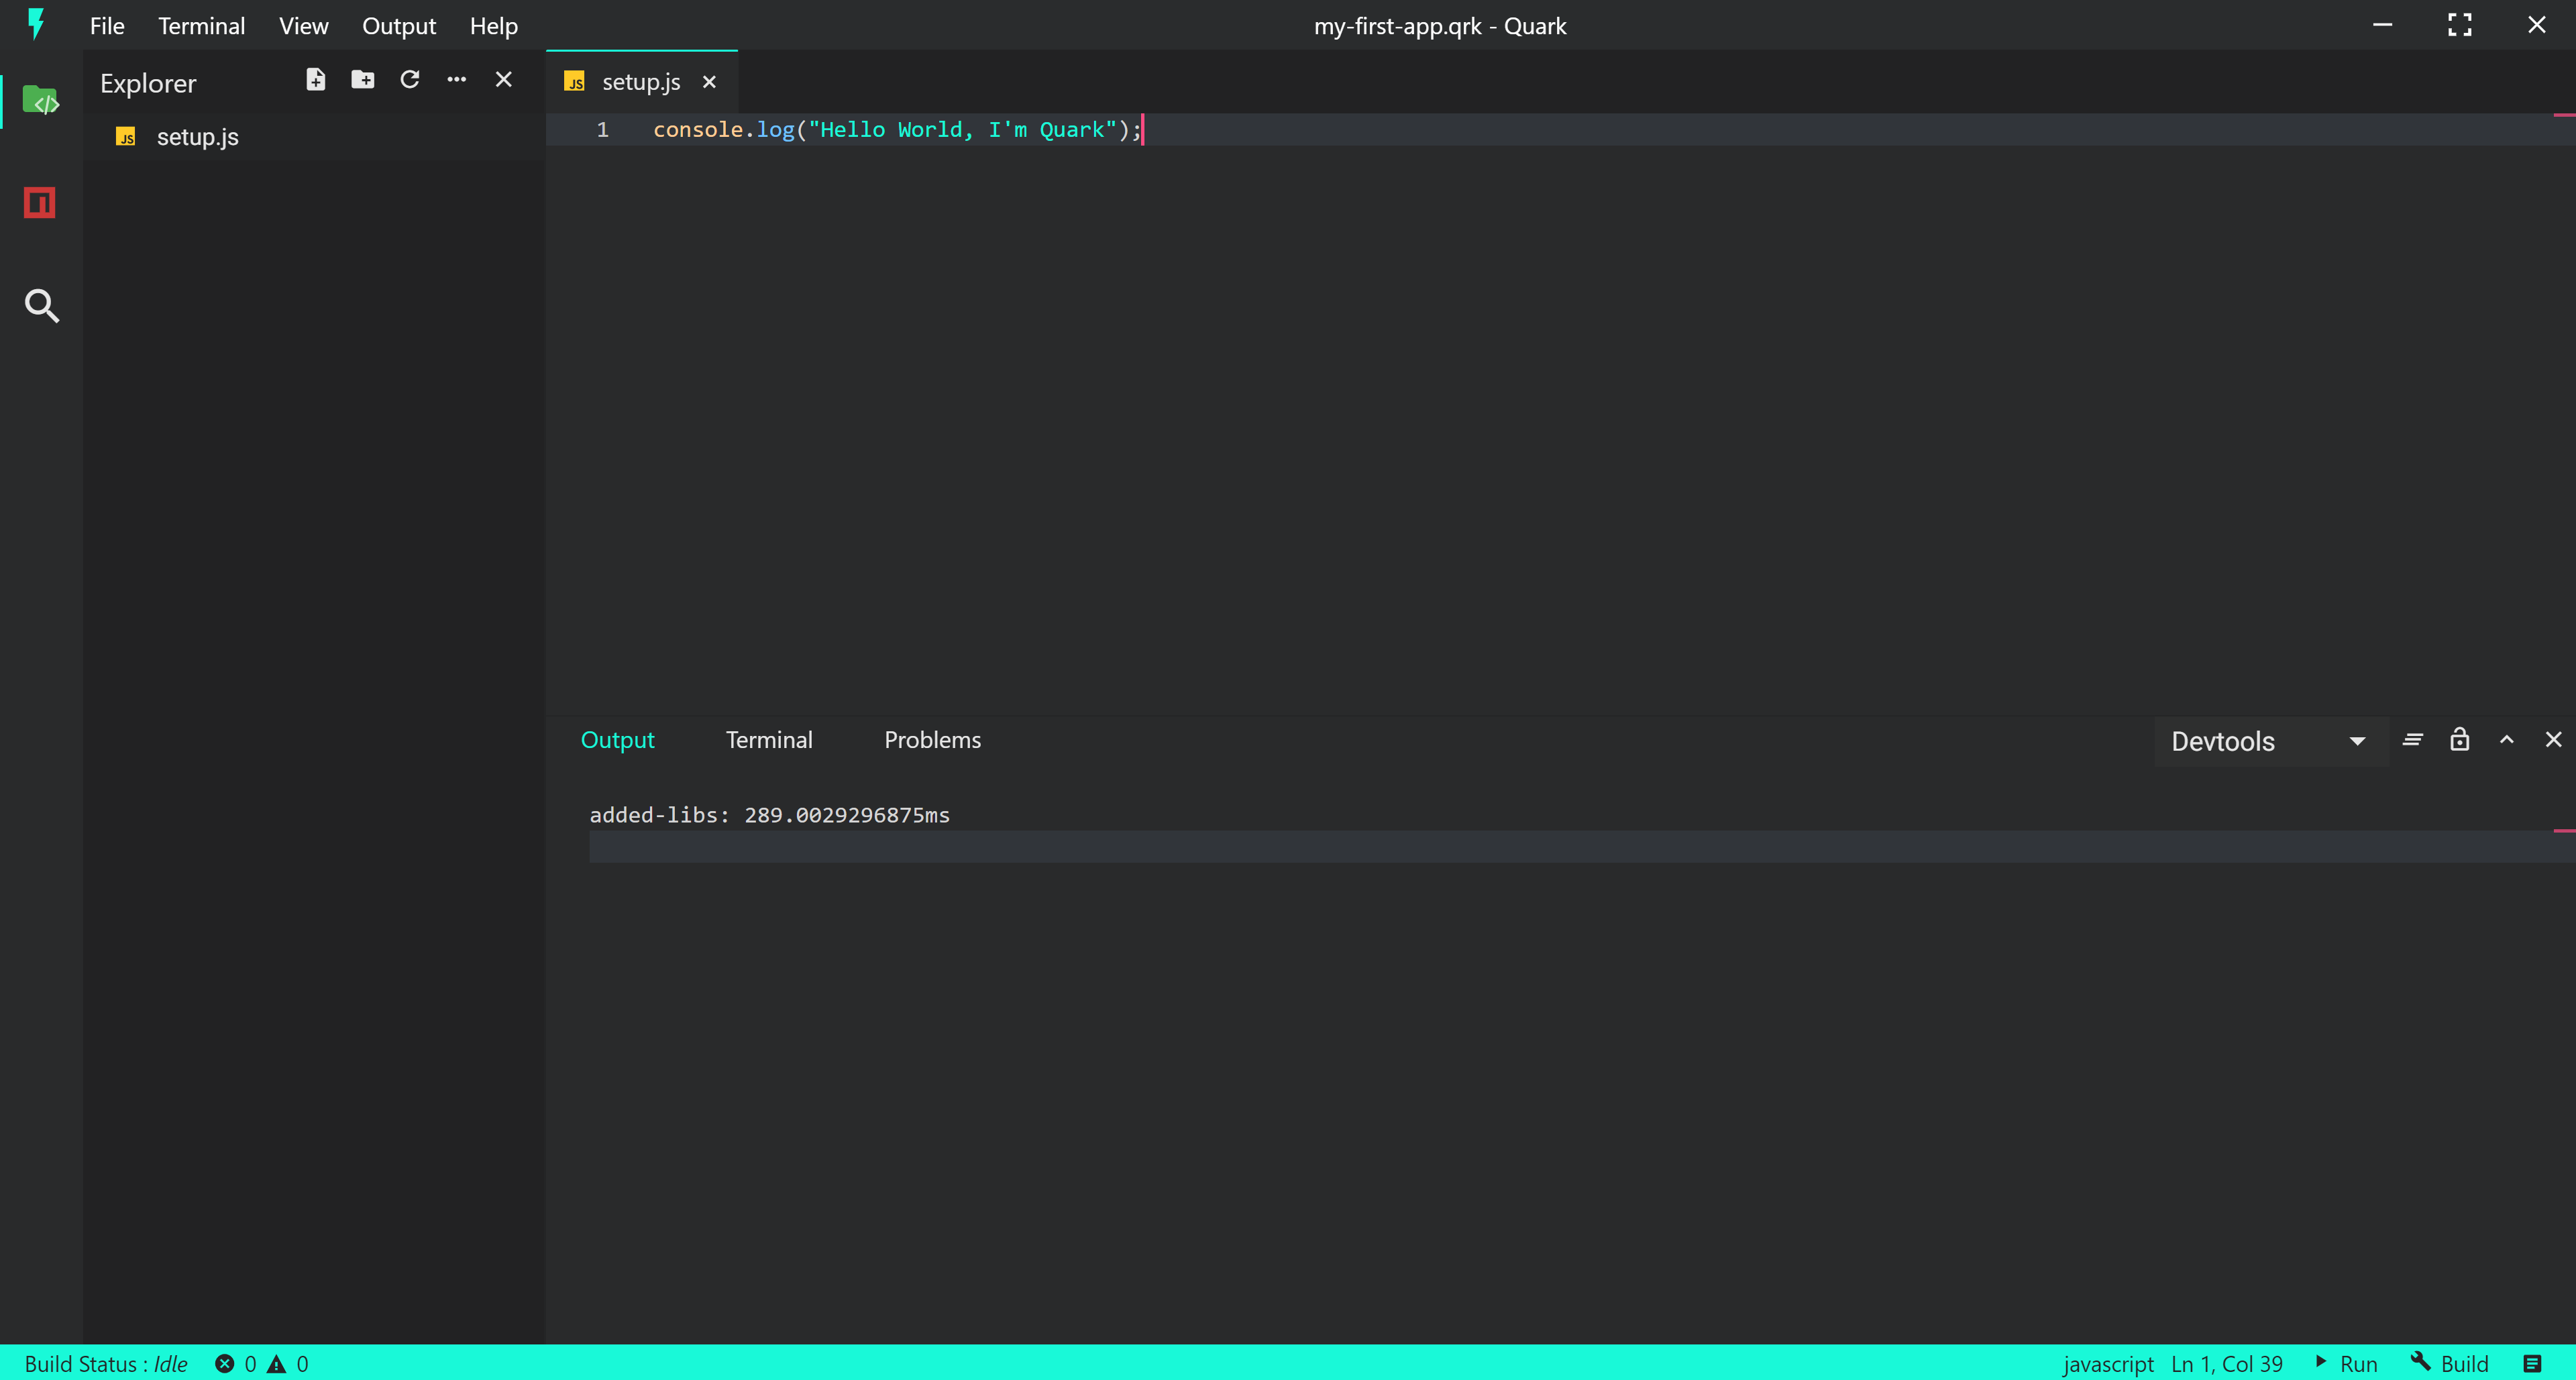
- Double click on the file to open the editor. Your view should look something like this.
Step 4: Writing your Code.
- Notice that our file already has one line of code, that prints a console message. We'll keep this tutorial to only one line of code.
- Let us change the console message to "Hello World, I'm Quark". Your code should now look like this.
console.log("Hello World, I'm Quark");
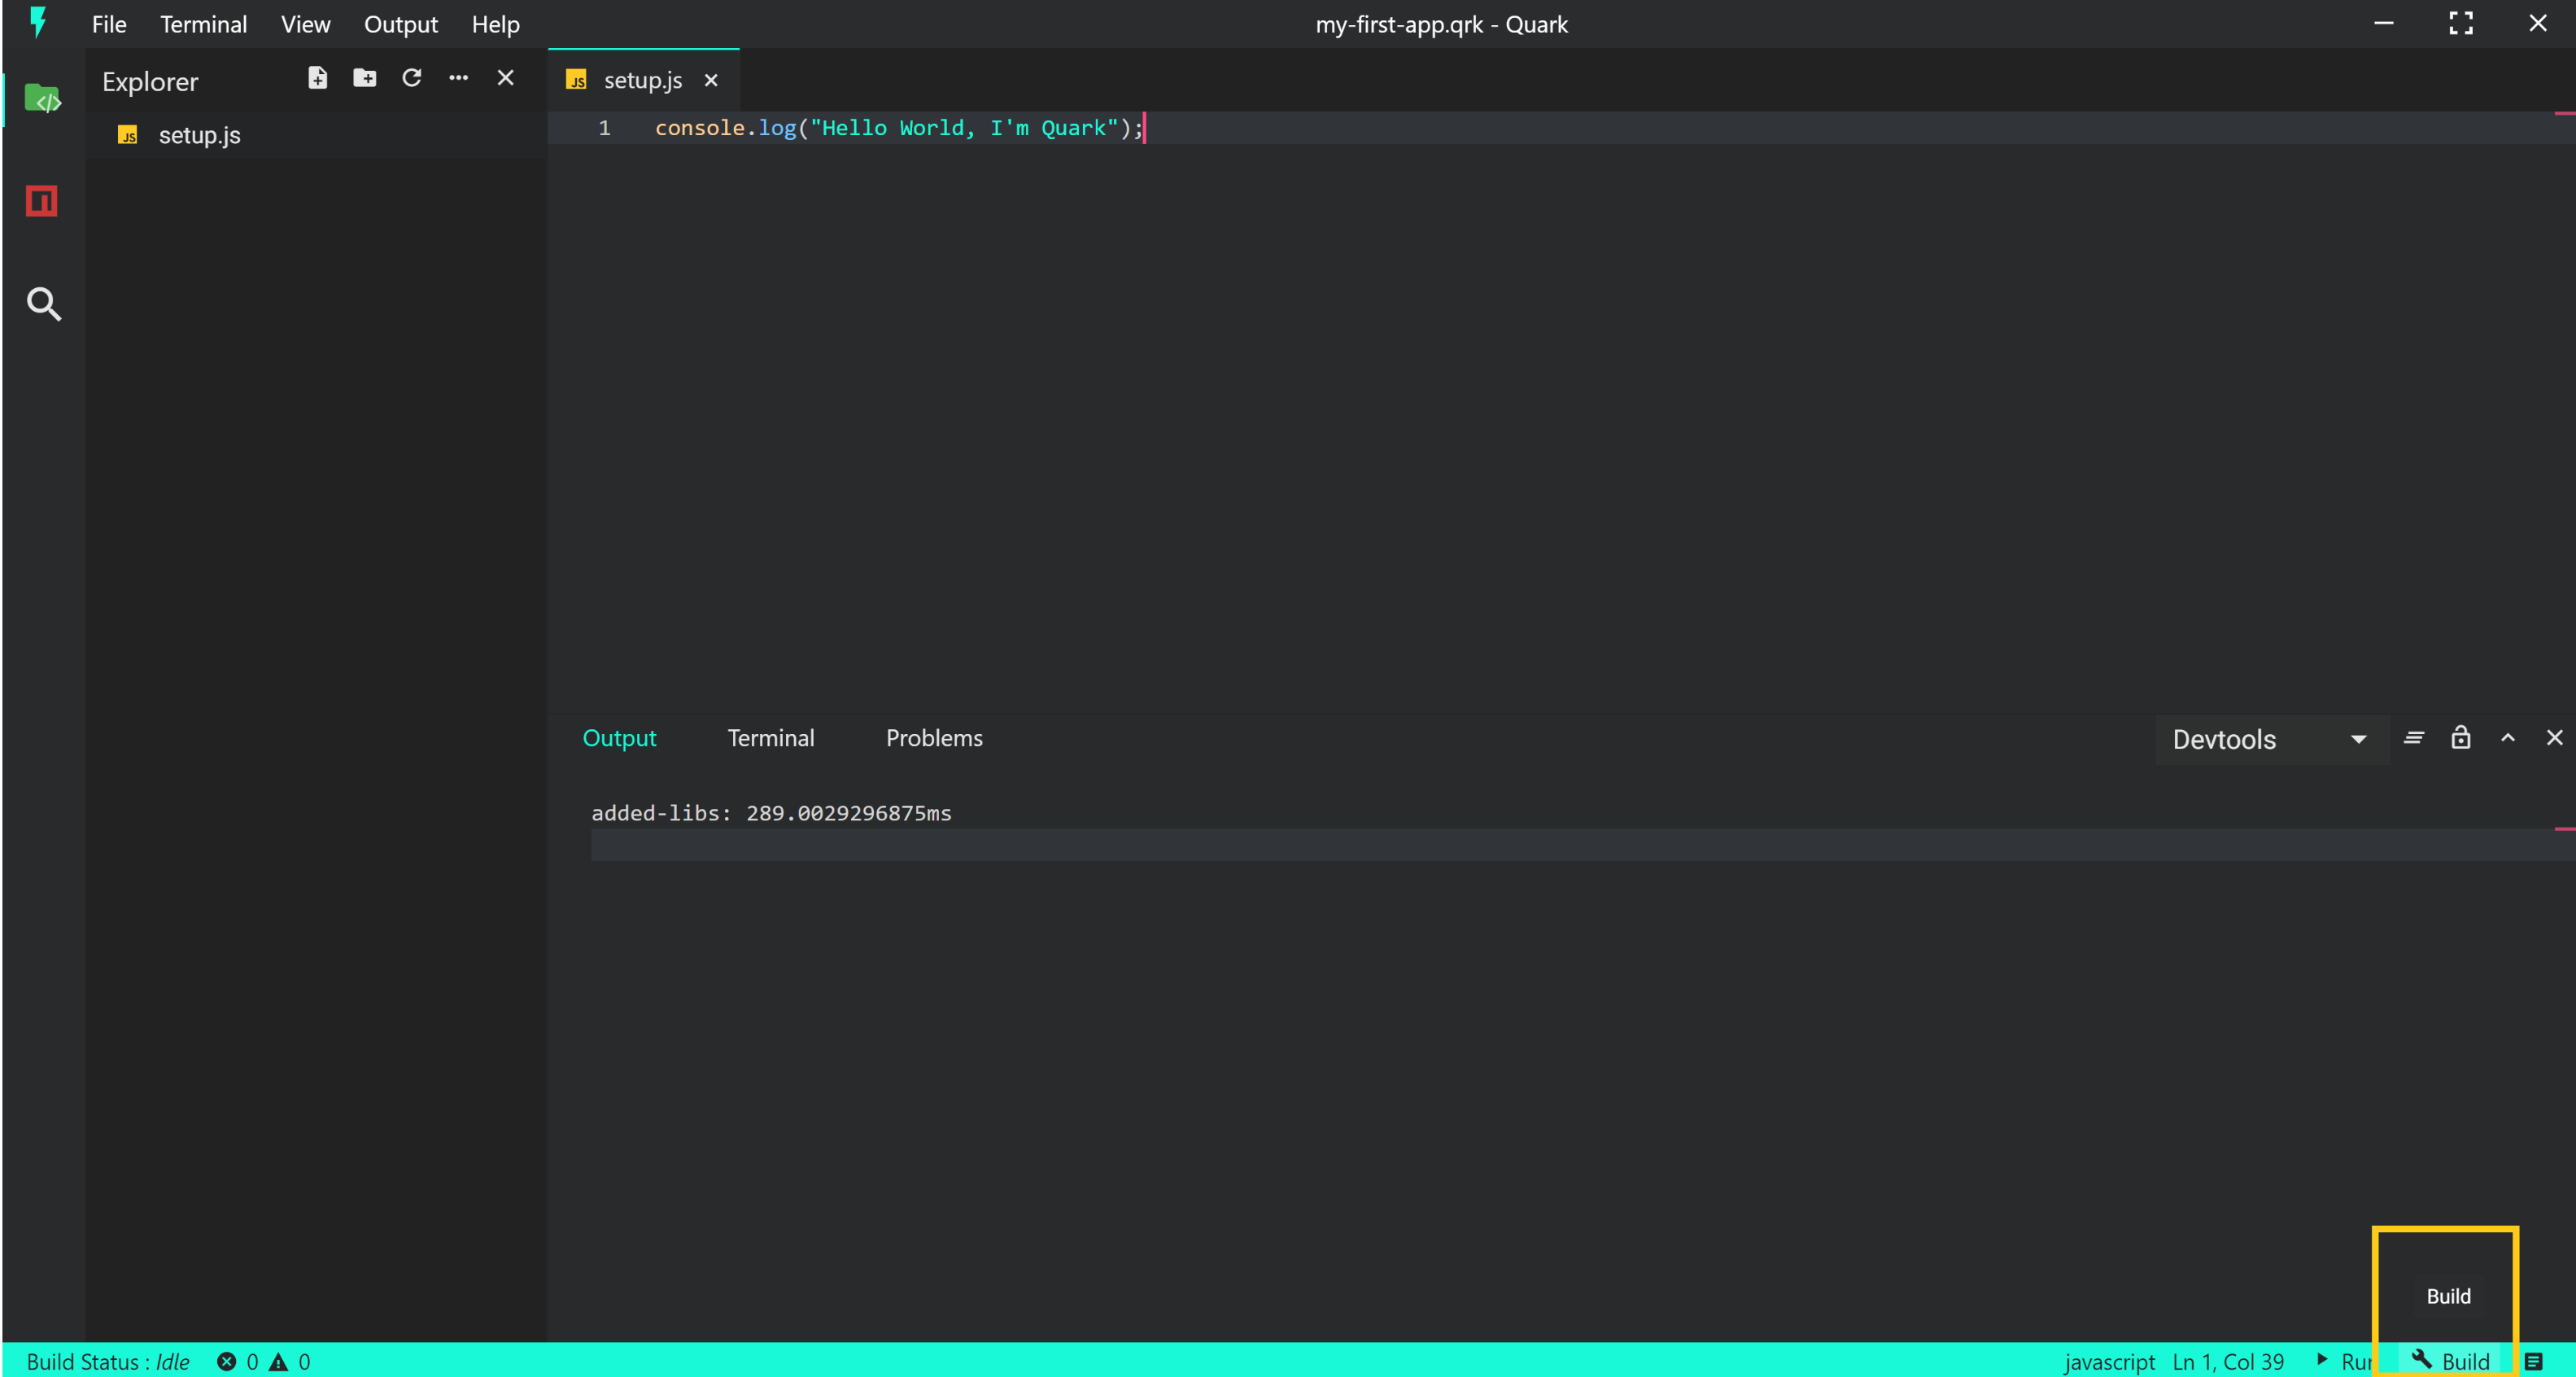
Step 5: Building the sketch
- To build the sketch, press the build button at the bottom right corner of the IDE.
- To check the build logs, go to the Output section in Menu bar and select "Build: Focus". This will focus on the build logs output channel.
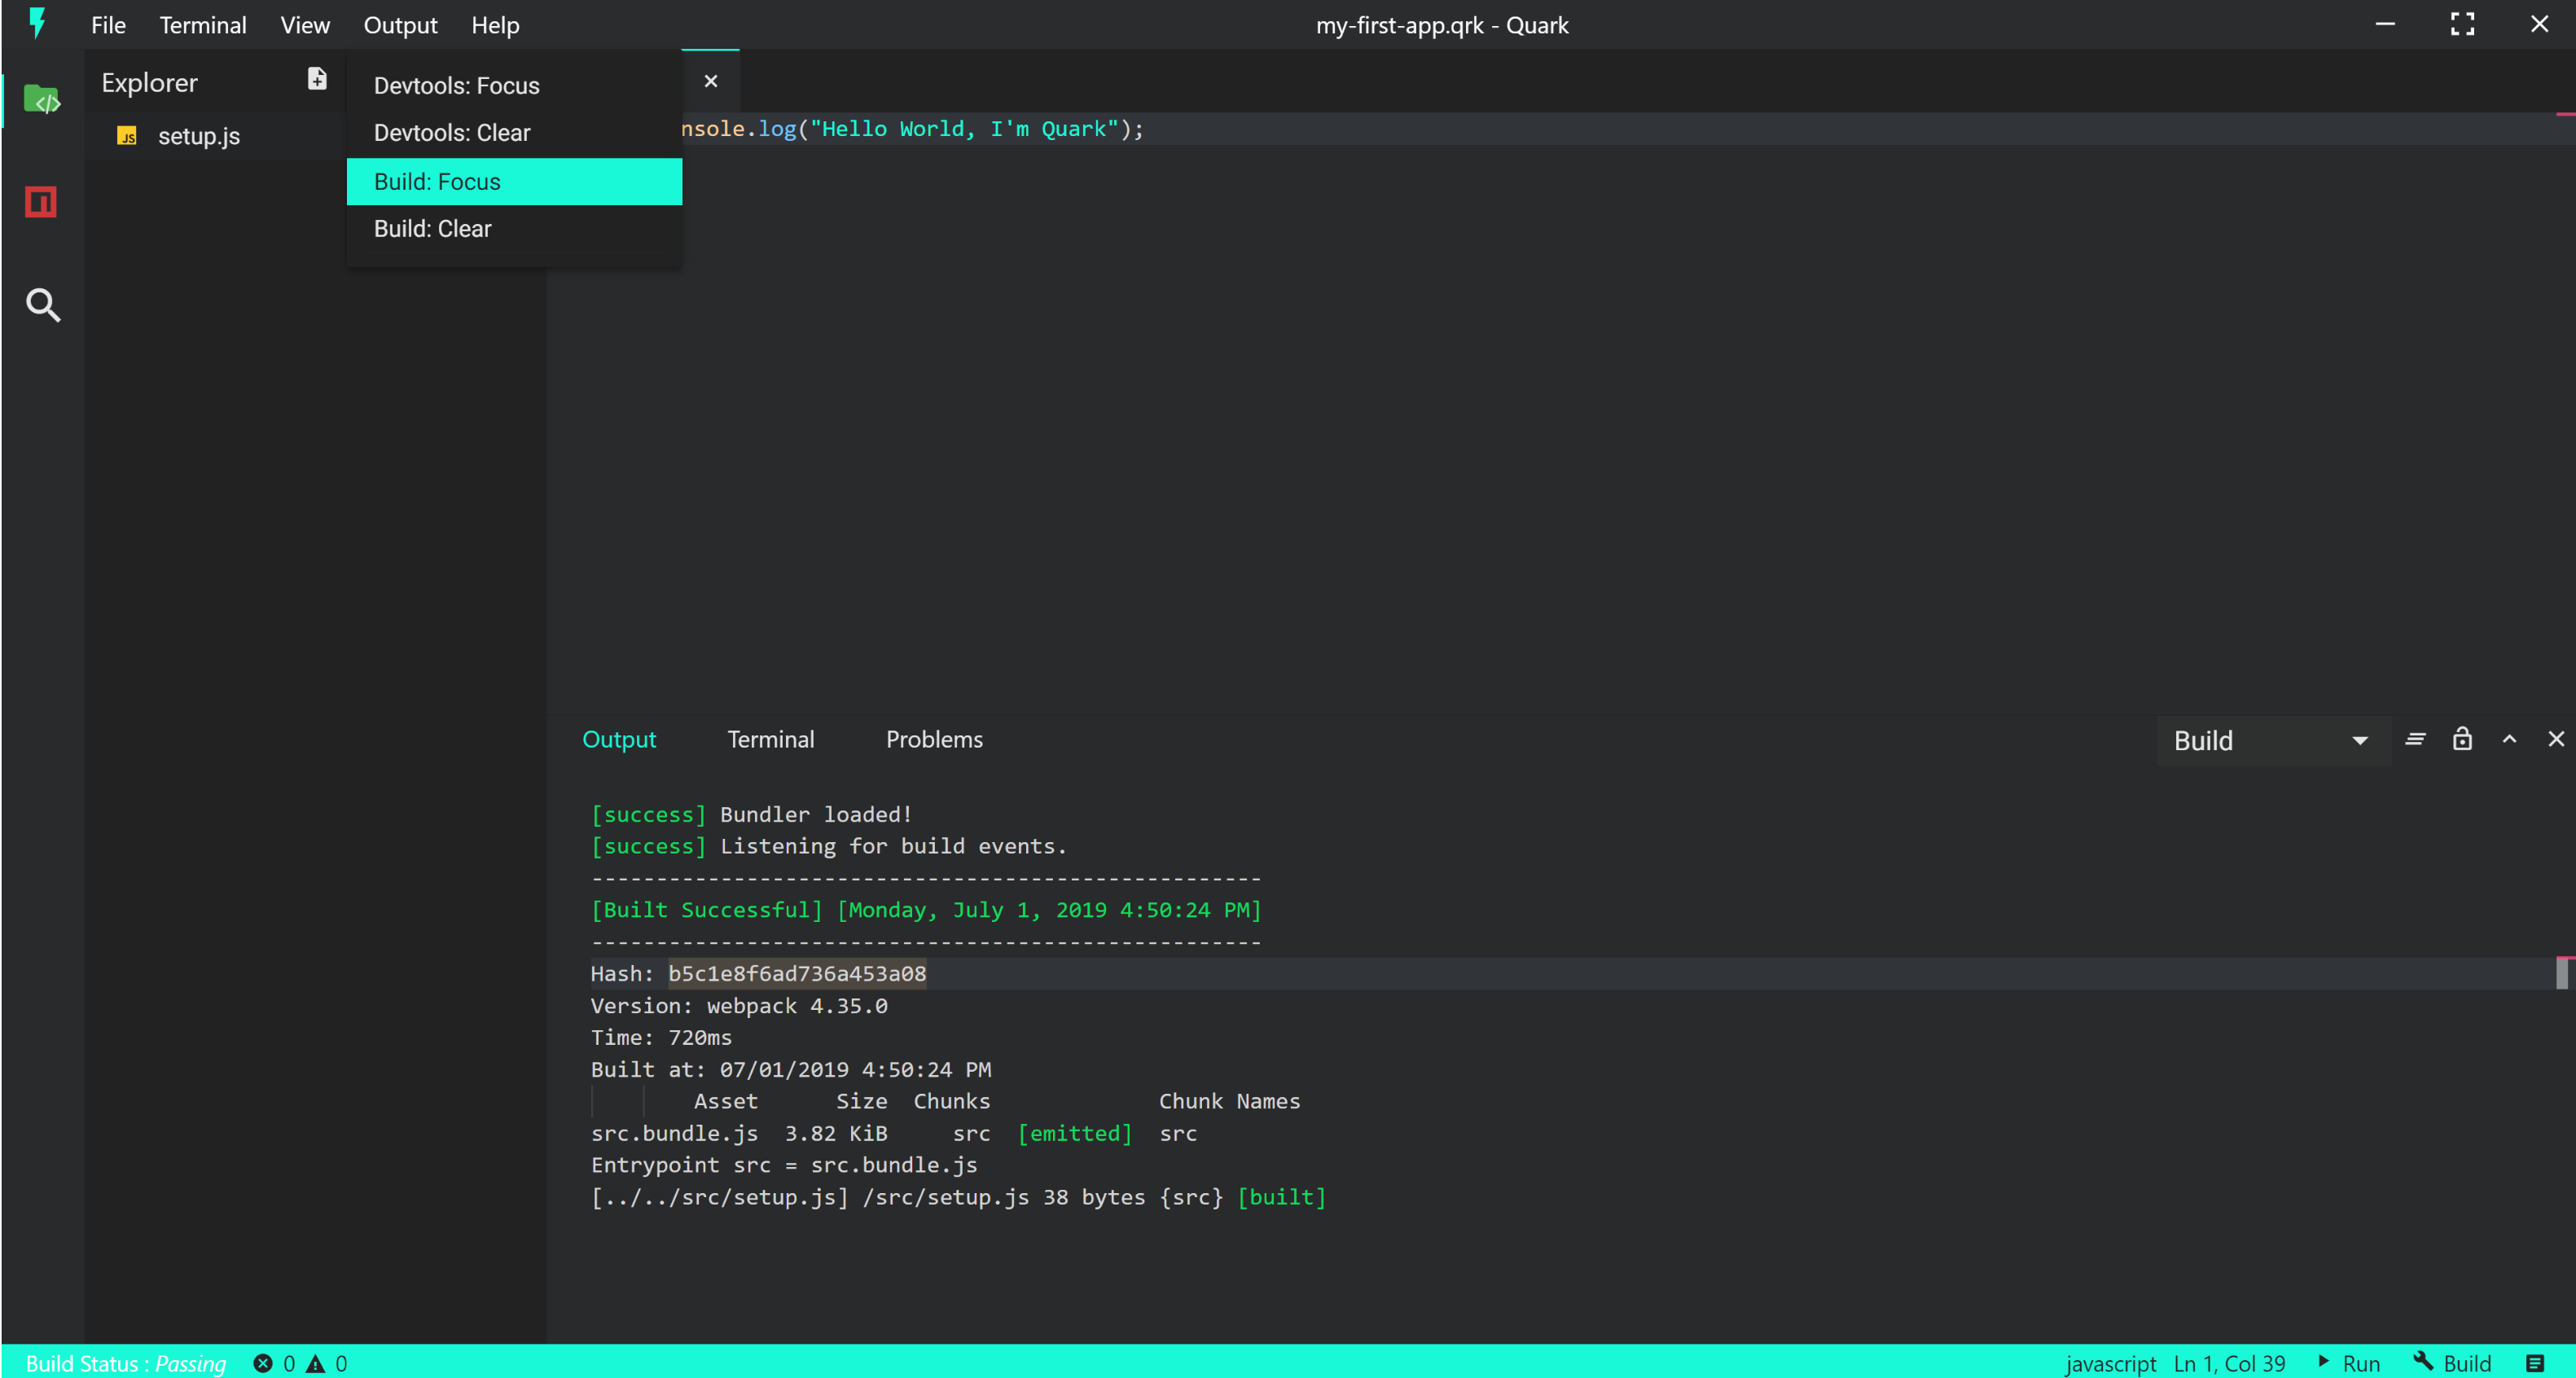
- As visible in the output, our build was successful, now lets run the sketch.
Step 6: Running the sketch
- To run the sketch, press the run button at the bottom right corner (adjacent to the build button) of the IDE.
- This should run our sketch and a new window will pop open like so.
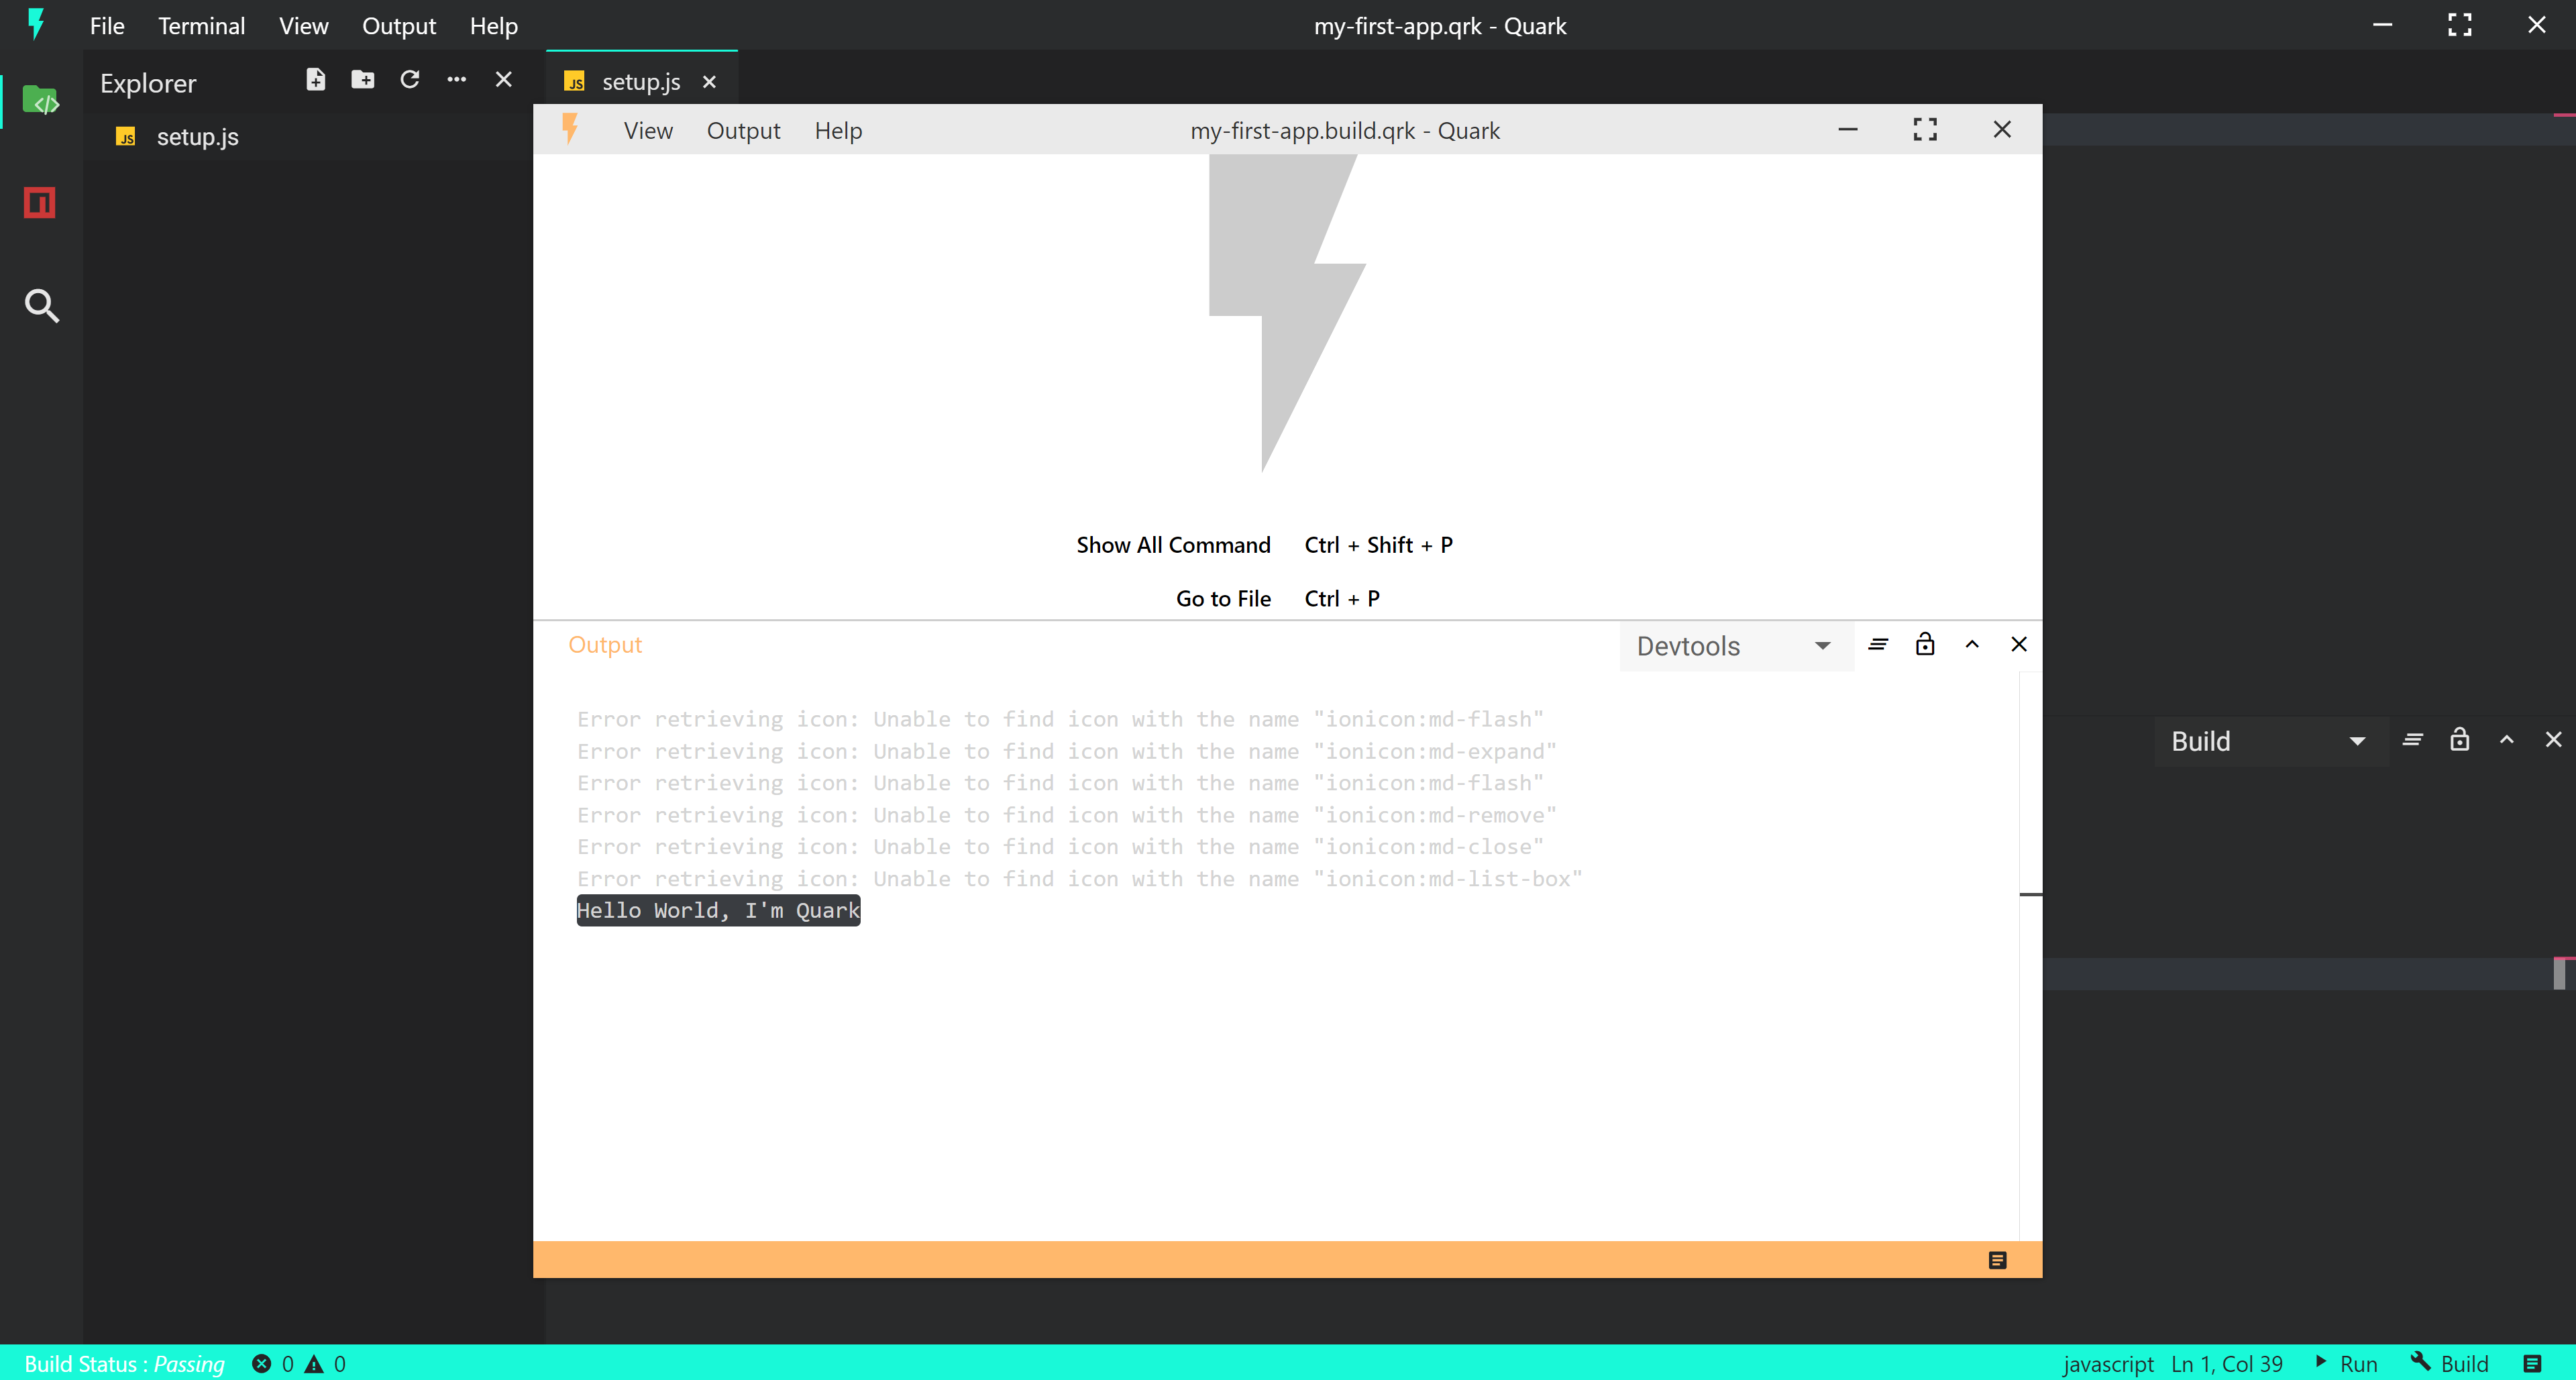
- Notice the console message printed in the devtools output channel. This shows that our code ran properly.
The entire process could be summarized in the following video.
We create a new project, build the project, and run the project. All of which can be done within 15 seconds!!
Next Steps
Of course this is not all Quark has to offer, checkout the tutorials to learn mode advanced concepts.